6 Easy Steps to a Better Cleaning Routine
-
1 min read
So you’ve decided to clean your house—to throw back the curtains and let sunlight trickle in as you restore your home to peace and order. But as you turn to face the decision of where to start, you’re overwhelmed by your to-do list.
Well, you’re not alone.
A Princeton University study once examined our struggle to choose long-term gains over short-term rewards: it boils down to a battle between the emotional and logical sides of our brain. Our emotional side knows a happy dose of dopamine is just around corner if we do something fun, while our logical side calmly says, “No, we should do the not-so-fun but responsible thing now and save the fun for when we’ve earned it.”
The two voices become a dissonant harmony in our minds, clashing against each other like nails on a chalkboard. It’s easy to guess which voice is more appealing.
So when you throw back the curtains and turn to face your home, how can you stop yourself from abandoning the tasks ahead of you and going out for an ice cream instead?
It all starts with a plan. In this article, we’ll go over the best ways to prep yourself for home cleaning success, including scheduling, prioritizing, checklists, cleaning tips, and more. Keep reading to find out how you can make whole-house cleaning not only manageable, but maintainable on a routine basis.
Step 1: Establish Your ‘Why’
If you find yourself struggling at any point in the cleaning process, ask yourself: Why do you want a clean home? On a practical level, it may be to help protect your overall mood and well-being. On a logical level, it may stem from a desire to be ready for impromptu visitors, thereby eliminating the sudden panic that comes from a friend asking if they can stop by in the next ten minutes. Or maybe you just want a haven of your own making that’s relaxing and calming. Maybe it’s a little of everything.
Remembering why you want a clean home will help keep you motivated throughout the process.
Step 2: Prioritize Your Rooms
Grab a notepad, smartphone, or whatever you fancy; we’re going to figure out your priorities.
Walk through your home and rank the rooms in order of importance. For example, rooms that you spend more time in, like a bedroom or living room, will have a higher priority status than a room you rarely use.
Step 3: Decide Cleaning Frequency
Next to each room, jot a note of how frequently you think it needs to be cleaned. High-traffic areas such as living rooms may need to be thoroughly cleaned once a week, while low-traffic areas like a guest bedroom may only need to be tidied up once a month.
Reminder: It’s tempting to idealize in this stage, but a big part of creating a routine you’ll stick to involves realism. If you’re currently struggling to clean a room once a month, don’t expect yourself to suddenly start cleaning it once a week. It’s better to start small and add more cleaning sessions as you progress, rather than overwhelm yourself and abandon the tasks altogether.
Step 4: Pick Your Cleaning Days
Now that you’ve prioritized your rooms and decided how frequently they should be cleaned, let’s make a cleaning schedule that you can keep.
While looking at your priority rankings, decide what days you’d like to clean each room. Some cleaning days might repeat weekly and others monthly. You can mark these days on a calendar or make a list and tape it to your fridge.
Step 5: Make Checklists
Time for another turn about the house! Examine your rooms and make a custom cleaning checklist for each one. That way, you’ll know exactly where to start and what to do whenever cleaning day comes around.
Cleaning checklists might look something like these:
| Living Room | Bathroom | Bedroom |
|
□ Dust blinds and clean windows □ Dust shelves, wall art, and media center □ Vacuum upholstery □ Clean coffee and side tables □ Vacuum carpets |
□ Dust shelves and wall art □ Clean mirrors □ Clean countertop and sink(s) □ Clean shower □ Clean toilet □ Vacuum bathmat □ Sweep and mop floor |
□ Dust blinds and clean windows □ Dust shelves and wall art □ Clean nightstands and dressers □ Vacuum upholstery □ Vacuum rugs and carpet |
| Laundry | Kitchen | Dining Room & Hallways |
|
□ Bedsheets and pillowcases □ Clothes □ Bathroom towels □ Kitchen and cleaning rags □ Tablecloths □ Living room blankets |
□ Dust blinds and clean windows □ Dust upper cabinets and shelves □ Clean out fridge □ Clean stovetop □ Wipe down countertops □ Clean sink □ Clean oven □ Dust lower cabinets □ Sweep and mop floor |
□ Dust blinds and clean windows □ Dust shelves and wall art □ Clean dining table and entryway tables □ Vacuum rugs and carpets □ Sweep and mop floors |
Step 6: Clean Efficiently
When cleaning, it’s essential to take a ceiling-to-floor approach, and here’s why.
There’s the old saying: “What goes up must come down.” As you clean, dust and small particles get swept into the air and eventually settle onto lower surfaces. Crumbs will also get swept off countertops and onto floors.
For efficient cleaning, clean windows first, then shelves and cabinets, then countertops—you get the picture. Everything will eventually fall to the floor where you can sweep or vacuum it up in one go at the end.
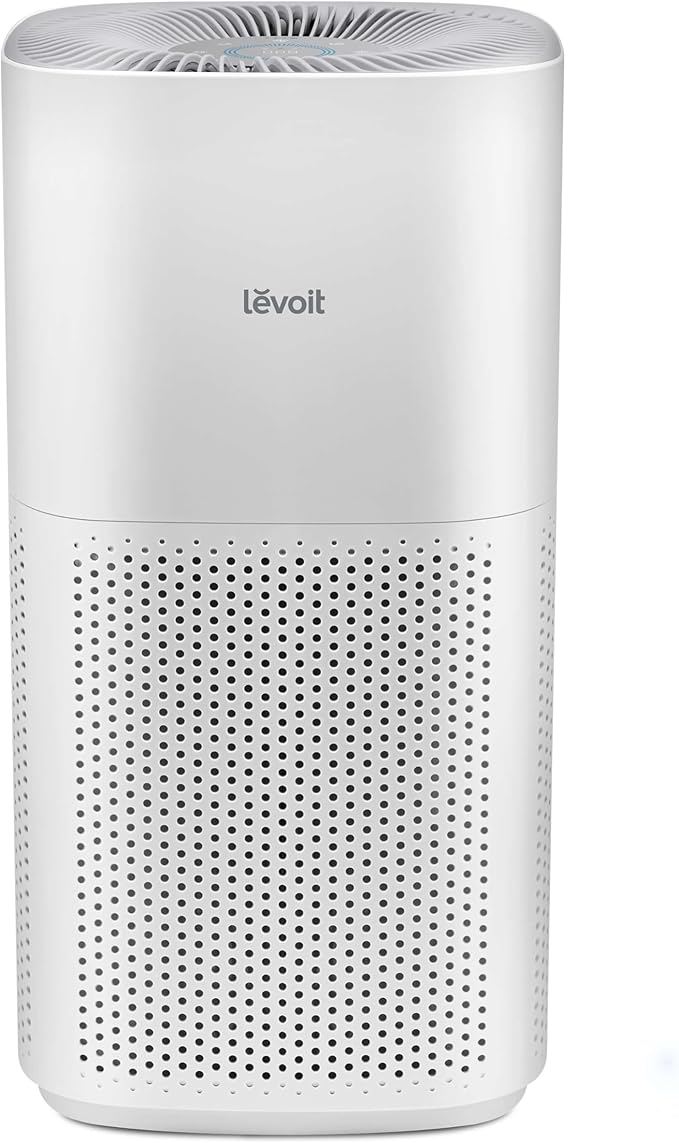
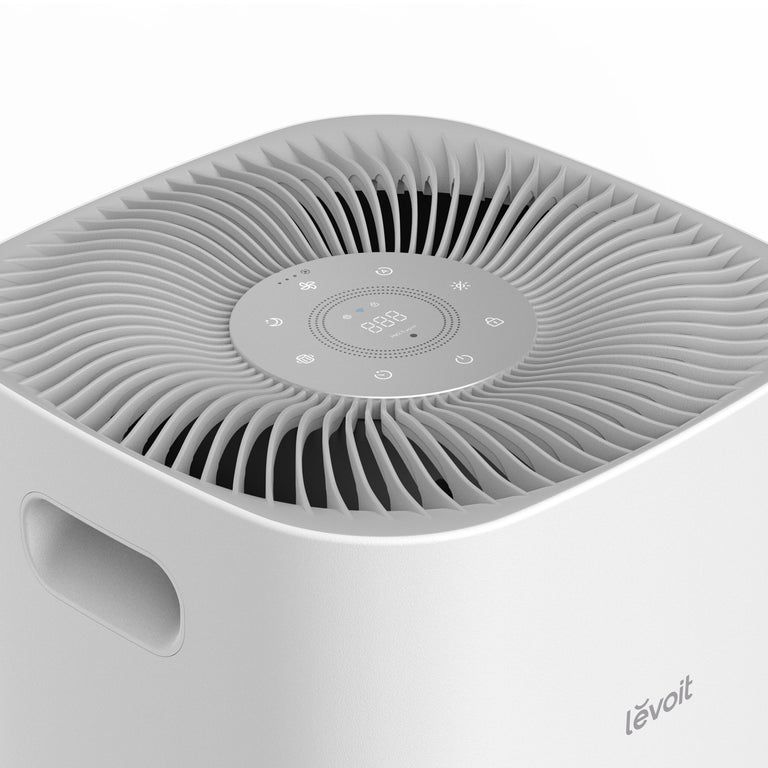
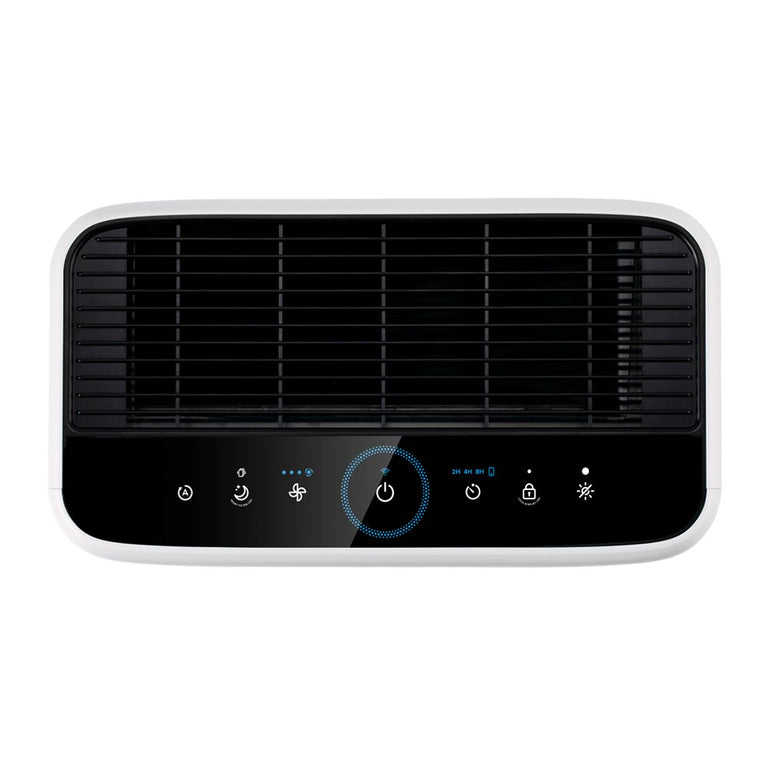
Tips: An air purifier such as the Levoit Vital 200S Smart Air Purifier can help protect your air quality while you clean. Turn on the highest fan speed setting while you clean to catch airborne dust, fibers, and VOCs (volatile organic compounds) released from cleaning products.
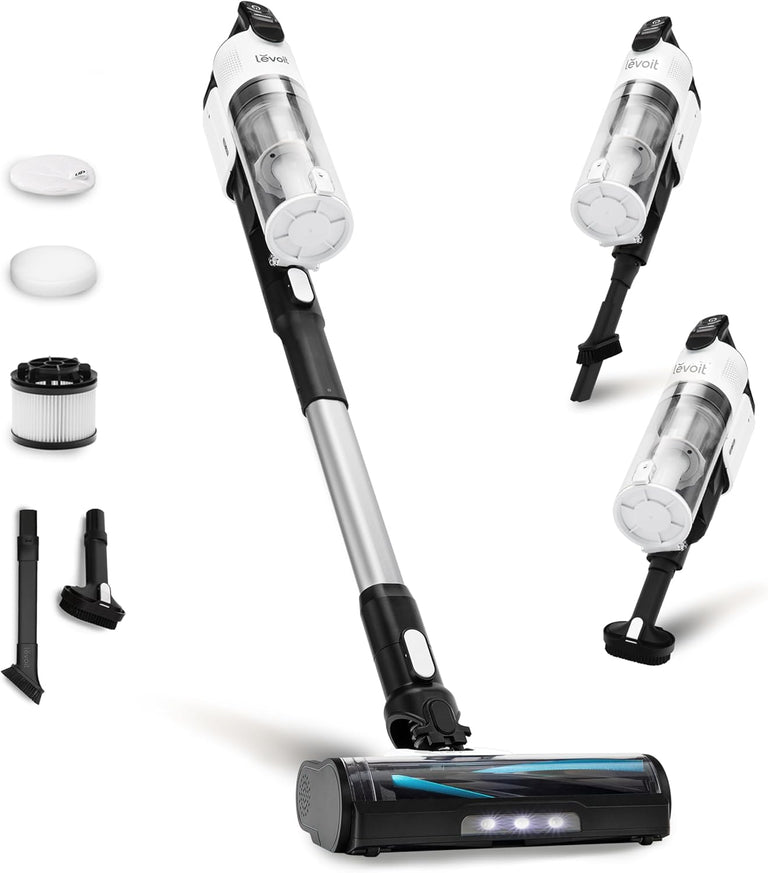
Another helpful cleaning tool is the Levoit LVAC-200 Cordless Stick Vacuum. Equipped with powerful suction and helpful cleaning attachments, you can reach and clean every nook and cranny with ease.
Summary
Now you know how to set up a cleaning routine for your home that is practical, time-saving, and effective. So throw back those curtains, let the light in, and unlock the potential for your dream home.
Citations:
Study: Brain battles itself over short-term rewards, long-term goals (princeton.edu)
Featured Products
-
Regular price $159.99Unit price perRegular price
$189.99$159.99- Smart
- Large rooms
-
New
- New

